
title: "Product Photography That Converts: 7 Proven Strategies for E-commerce Success" description: "Discover how professional product photography can increase your e-commerce conversion rates by up to 40%. Learn the techniques top brands use to create scroll-stopping product images that drive sales." date: "2026-01-06" author: name: "Bas Lefeber" role: "Founder & CEO at Swasch" category: "Product Photography" tags: ["Product Photography", "E-commerce", "Conversion Optimization", "Shopify", "Visual Marketing"] image: "/portfolio/product-photography/puripet-bundle-3/SNÄCK 100% HUHN.png" imageAlt: "Professional PuriPet pet food snack product photography" featured: true
Your product photography can make or break your e-commerce business.
Studies show that 75% of online shoppers rely on product photos when making a purchase decision. Yet most e-commerce stores settle for mediocre images that fail to showcase their products' true value.
The result? Lower conversion rates, higher return rates, and lost revenue.
In this guide, I'll share the exact product photography strategies we use at Swasch to help e-commerce brands increase conversions by 30-40%. These techniques work whether you're shooting in-house or working with a professional photographer.
Why Product Photography Matters More Than Ever
In 2026, online shopping is more competitive than ever. Customers can't touch or try your products, so your images need to do the heavy lifting.
Here's what great product photography accomplishes:
✅ Builds trust — Professional images signal quality and legitimacy
✅ Reduces returns — Accurate photos set proper expectations
✅ Increases conversions — Better images = more "Add to Cart" clicks
✅ Justifies premium pricing — High-quality photos support higher prices
✅ Improves SEO — Optimized images rank in Google Image Search
The Numbers Don't Lie
According to our data from 50+ e-commerce clients:
- •93% of consumers consider visual appearance the key factor in purchasing
- •Products with professional photos convert 40% better than amateur shots
- •Multiple angles (5-7 images) increase conversion by 58%
- •Lifestyle photos boost add-to-cart rates by 25%
The 7 Strategies for High-Converting Product Photos

1. Master the White Background Shot
The classic white background (pure #FFFFFF) is non-negotiable for e-commerce:
Why it works:
- •Clean, distraction-free focus on the product
- •Required for Amazon, Google Shopping, and most marketplaces
- •Easy to edit and maintain consistency
- •Works across all devices and screen sizes
How to achieve it:
- •Use a lightbox or sweep (seamless white backdrop)
- •Proper lighting from multiple angles (3-point lighting ideal)
- •Shoot in RAW format for maximum editing flexibility
- •Remove background in post-production (Photoshop, Pixlr, or AI tools)
Pro Tip: Invest in a quality lightbox ($50-200) if shooting in-house. The ROI is immediate.
2. Show Multiple Angles (The 360° Approach)
Customers want to see every detail before buying. Single-angle photos leave questions unanswered.
Essential angles to include:
- •Front view (hero shot)
- •Back view
- •Side views (left and right)
- •Top/bottom views (if relevant)
- •Close-ups of key features
- •Scale reference (next to common object)
Example: For a backpack, show:
- •Front with all pockets visible
- •Back showing straps and padding
- •Interior with compartments
- •Zippers and hardware close-ups
- •Person wearing it (scale)
This approach reduces "Does it have X?" questions and builds buyer confidence.
3. Add Lifestyle Context Photos
White background shots show the product. Lifestyle shots show the experience.
Lifestyle photography should:
- •Show the product in real-world use
- •Feature your target customer demographic
- •Evoke emotion and aspiration
- •Tell a story about the product's benefits
Example scenarios:
- •Skincare: Woman applying product in bright, clean bathroom
- •Tech gadgets: Professional using device in modern workspace
- •Fashion: Model wearing item in aspirational setting
- •Home goods: Product styled in beautiful, on-brand interior
The sweet spot: 60% white background, 40% lifestyle images.
4. Optimize Image Quality Without Sacrificing Speed
High-resolution images look amazing but can kill your page load speed (and conversions).
The balance:
- •Hero images: 2000-2500px width, 80-85% JPEG quality
- •Thumbnail images: 600-800px width, 70-75% quality
- •Zoom images: 3000-4000px width, 90% quality (lazy load)
Technical optimization:
- •Use WebP format (30% smaller than JPEG, same quality)
- •Implement lazy loading for below-the-fold images
- •Use a CDN (Cloudflare, AWS CloudFront) for fast delivery
- •Compress with tools like TinyPNG or ImageOptim
Target: Page load under 3 seconds with full-quality images.
5. Maintain Consistent Styling Across Your Catalog
Inconsistent product photos make your store look unprofessional and chaotic.
Consistency checklist:
- •Same background color/style
- •Consistent lighting and shadows
- •Uniform product positioning
- •Matching color grading
- •Standardized image dimensions
How to achieve it:
- •Create a style guide with exact specifications
- •Use the same setup for every shoot
- •Apply Lightroom presets for consistent color grading
- •Maintain a shot list template for each product type
Pro Tip: If outsourcing, provide detailed brand guidelines to your photographer.
6. Highlight Key Features with Annotations
Sometimes a picture needs a little help telling the story.
When to use annotations:
- •Technical products with specific features
- •Products with hidden benefits
- •Size/dimension clarification
- •Material or quality highlights
Best practices:
- •Use clean, minimal design (arrows, circles, text)
- •Match your brand colors and fonts
- •Don't overdo it (max 3-4 callouts per image)
- •Make annotations mobile-friendly (large enough to read)
Example: For a water bottle:
- •Arrow pointing to "BPA-Free Material"
- •Circle highlighting "Leak-Proof Lid"
- •Dimension line showing "Fits in Car Cup Holder"
7. Include User-Generated Content (UGC)
Customer photos are social proof on steroids.
Why UGC works:
- •Authenticity — Real customers, real results
- •Trust — 79% trust UGC more than brand photos
- •Diversity — Shows product in various contexts
- •Free content — Customers create it for you
How to collect UGC:
- •Create a branded hashtag (#MyBrandStyle)
- •Incentivize sharing (discount codes, features)
- •Request photos in post-purchase emails
- •Curate the best submissions for your product pages
Display strategy: Add a "Customer Photos" section below main product images.
Common Product Photography Mistakes to Avoid
❌ Poor lighting — Harsh shadows or dim, grainy images
❌ Wrong aspect ratio — Cropped or stretched photos
❌ Inconsistent backgrounds — Mixing white, gray, and colored backgrounds
❌ No scale reference — Customers can't judge size
❌ Over-editing — Unrealistic colors or excessive filters
❌ Ignoring mobile — Photos that don't work on small screens
DIY vs. Professional: What's Right for You?
When to DIY:
- •Budget under $500/month for photography
- •Simple products (flat lays, small items)
- •Low SKU count (under 50 products)
- •You have time to learn and execute
Estimated cost: $500-1500 for equipment, $0 ongoing
When to Hire a Pro:
- •Complex products (jewelry, fashion, food)
- •High-value items ($100+ retail price)
- •Large catalog (100+ SKUs)
- •Need fast turnaround (launching new products frequently)
Estimated cost: $50-500 per product depending on complexity
Our recommendation: Start DIY for basic shots, hire a pro for hero products and lifestyle images.
The Swasch Product Photography Process
At Swasch, we've photographed products for 50+ e-commerce brands across fashion, beauty, tech, and home goods.
Here's our proven process:
Phase 1: Strategy & Planning
- •Analyze your target customer and competitors
- •Define shot list and styling direction
- •Create mood boards and references
Phase 2: Production
- •Professional studio setup with controlled lighting
- •Multiple angles and variations
- •Lifestyle shoots with models/props
Phase 3: Post-Production
- •Background removal and cleanup
- •Color correction and grading
- •Retouching and enhancement
- •Optimization for web
Phase 4: Delivery
- •Organized files by SKU
- •Multiple formats (web, print, social)
- •Style guide for future consistency
Turnaround: 5-7 business days for most projects
Real Results: Before & After Case Study
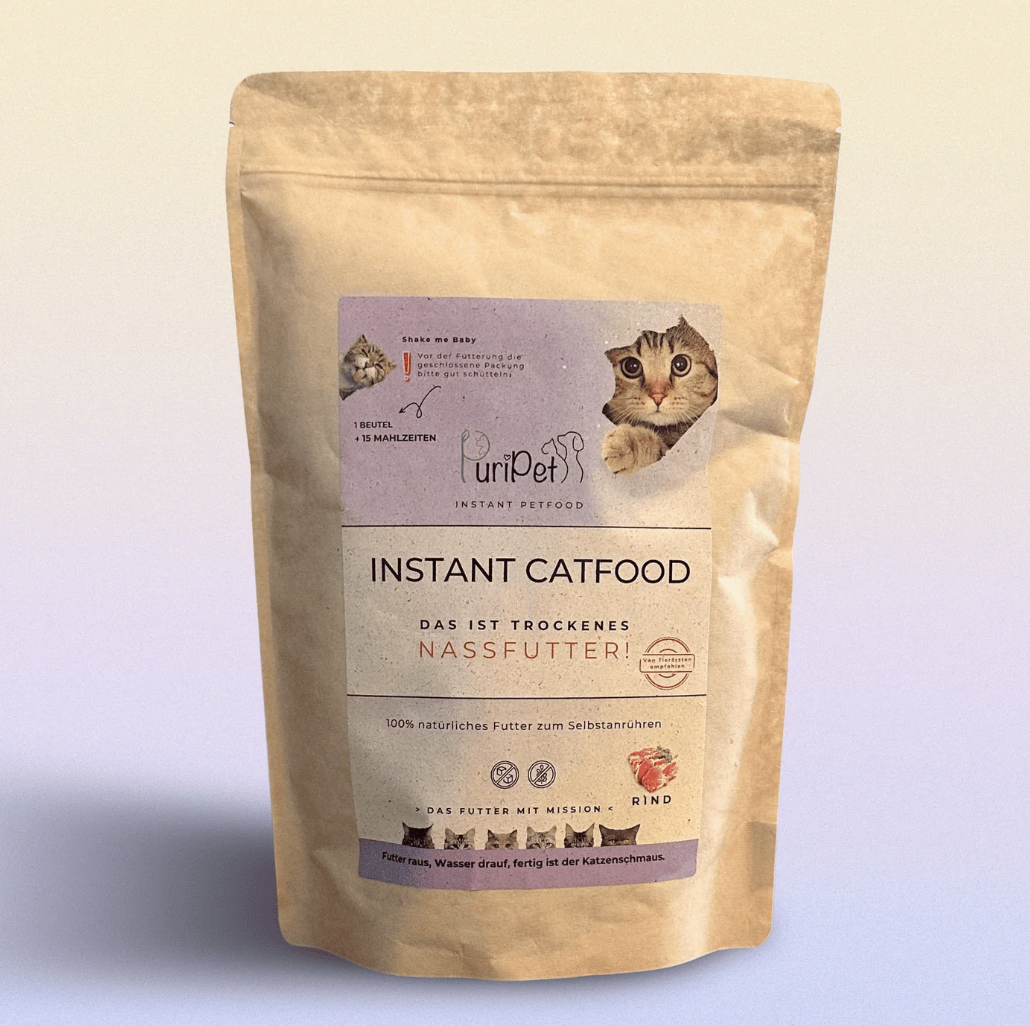
Client: Puripet (Pet Supplement Brand)
Challenge: Amateur product photos weren't converting. Products looked cheap despite premium quality.
Solution: Complete product photography overhaul with:
- •Professional studio lighting
- •Lifestyle shots with pets
- •Ingredient close-ups
- •Packaging design integration
Results:
- •+42% conversion rate increase
- •+35% average order value (customers bought more products)
- •-28% return rate (better expectation setting)
- •+156% Instagram engagement (shareable lifestyle photos)
Tools & Resources
Equipment (DIY Setup - $500-1500)
- •Camera: Sony A6400 or Canon M50 Mark II ($600-900)
- •Lens: 50mm f/1.8 prime lens ($150-250)
- •Lighting: Neewer 3-light kit ($150-300)
- •Backdrop: Foldable lightbox or white sweep ($50-150)
- •Tripod: Manfrotto or equivalent ($100-200)
Software
- •Editing: Adobe Lightroom ($10/month) or Capture One
- •Background removal: Remove.bg (free tier) or Photoshop
- •Optimization: TinyPNG, ImageOptim (free)
Learning Resources
- •YouTube: Product Photography 101 by Karl Taylor
- •Course: Shopify's Product Photography Guide (free)
- •Book: "Product Photography: The Ultimate Guide" by Jordi Koalitic
Action Plan: Improving Your Photos Today
Week 1: Audit
- •Review current product photos
- •Identify gaps (missing angles, poor quality)
- •Benchmark against top competitors
Week 2: Plan
- •Decide DIY vs. professional
- •Create shot list for priority products
- •Gather equipment or research photographers
Week 3: Execute
- •Shoot/commission new photos for top 10 products
- •Edit and optimize images
- •A/B test new vs. old photos
Week 4: Scale
- •Roll out winning style across catalog
- •Create process documentation
- •Schedule regular photo updates
The Bottom Line
Product photography isn't just about making things look pretty — it's about driving revenue.
Every dollar invested in professional product photography returns $3-5 in increased sales through better conversions and reduced returns.
Whether you DIY or hire a pro, the key is consistency, quality, and strategic thinking.
Need help with product photography? Swasch specializes in e-commerce product photography that converts. Get a free quote →
Questions? Drop a comment below or email us at hello@swasch-agency.com.
Enjoyed this article?
Get more insights like this delivered to your inbox. Join 1,000+ marketers growing their skills.
Bas Lefeber
Founder & CEO at Swasch
Expert in AI automation, video marketing, and digital growth strategies. Helping brands scale through innovative content solutions.